Pizza...you are a cook's canvas. A space for me to get creative. A place to try out unusual flavor combinations on unsuspecting guests, and get away with it. Pizza...you are a medium for experimentation and a place for all my favorite flavors to converge. Pizza...you are the perfect food in every way. I love you.
Not even kidding. I will write a love letter to pizza any day. I think pizza gets a bad rap for being junk food, but I will step in here and bash that idea on the head. Pizza does not have to be a junk food. Yup, it's bad if you load it up with a triple cheese, five meat, stuffed crust, quadruple bi-pass disaster. But, if you pick your toppings wisely, you will end up with something that's OMG tasty and whole lot healthier. Pizza does
NOT have to be smothered in cheese and fatty meats in order to be good. Don't believe me? Read on my friends...
I love experimenting with new pizza flavors. Where else can you have goat cheese, arugula, walnuts, honey and bread all wrapped into one little bite? Or, mozzarella, pesto, olives, roasted red peppers and spinach? The possibilities really are endless, and you have all the power to make it as healthy (or unhealthy) as you choose. I have discovered that I prefer pizzas that aren't smothered in gobs of greasy cheese. Cheese is a lovely accent and definitely doesn't need to be a show stealer. Sprinkling goat cheese, feta or fontina on the end gives pizza a boost without inundating the tastebuds and allowing all the other toppings to shine. Keep the cheese to a minimum, experiment with new flavor combinations, and you are going to dig into a pizza that is not only healthier, but more delicious than you could have ever imagined.
Toppings are an absolutely critical piece of the pizza puzzle. But, the crust...oh the crust. This can make or break a pizza. I have a crust recipe for you. It is adapted from Cooks Illustrated and it is heaven sent...or at least Christopher Kimball sent, but you get the drift. Its good. It's better than any pizzeria crust I've had, with the exception of a genuine brick fire oven crust. This recipe mimics a brick fire oven in your own oven, and the results are as close as you'll ever get to this at home (unless of course you have a brick fire oven pizza at home. Duh).
Homemade pizza is the perfect meal for entertaining. Whip the dough out before your guests arrive and have everyone join in the fun of decorating the pizzas. Or give everyone a dough ball to create their own mini-pizza.
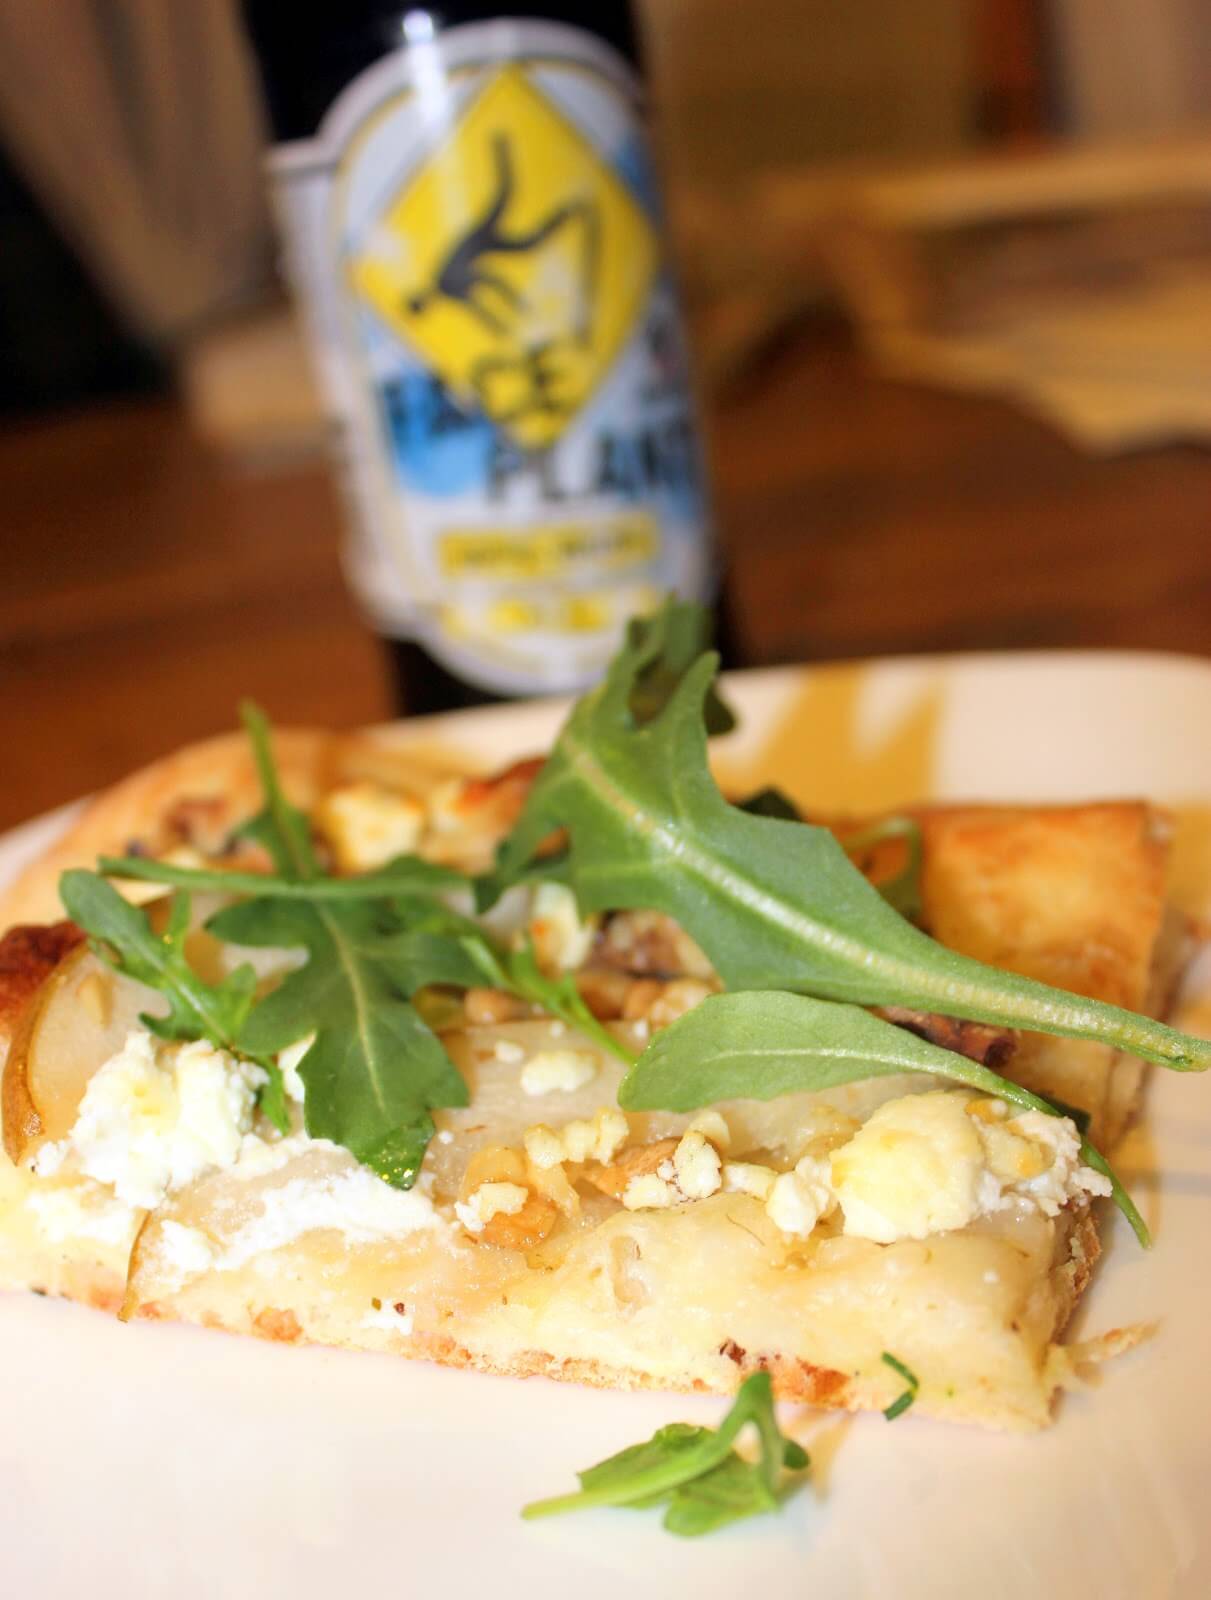
And, of course, no pizza party is complete without a cold local brew. This is a particular favorite of mine from a local German brewery,
Bayern. It is a Doppelweizen, combination Heffeweizen and Doppelbock. It is 7.5% alcohol...hence the name Face Plant (that and our little town's skiing
problem obsession).
I'll share some of our favorite pizza toppings, but get creative! Have a favorite flavor combo? Add it to your pizza, you won't be disappointed.
-
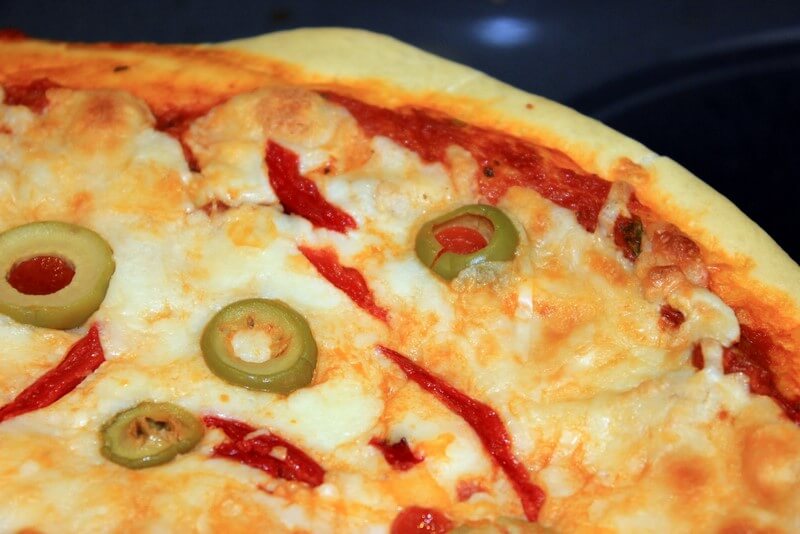
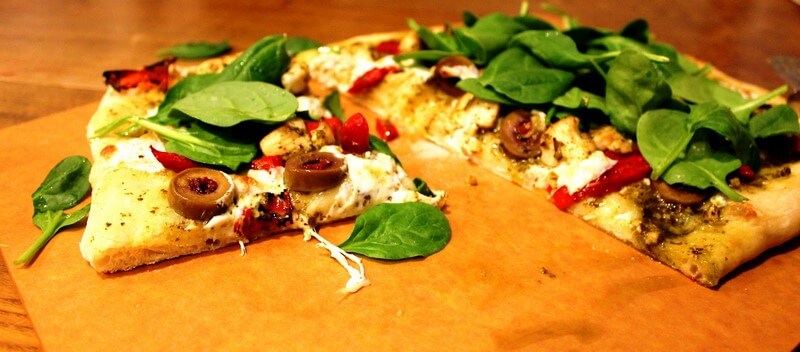
Pesto sauce, kalamata olives, roasted red peppers, chicken and a smattering of
fresh mozzarella on top. After the pizza cooks, add
fresh spinach to the top and let sit for five minutes before cutting. The spinach will wilt ever so slightly and your pizza will not be watery, which cooking spinach on pizza tends to do.
-
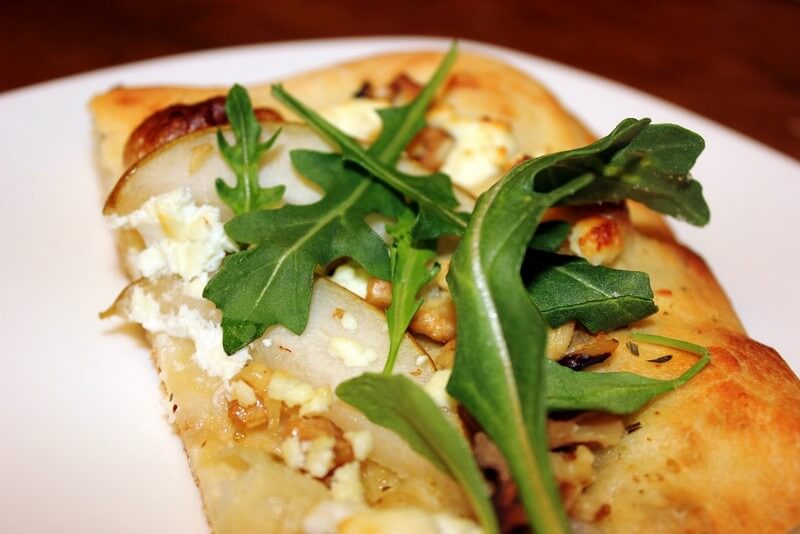
Olive oil & garlic sauce, thinly sliced pears, chopped walnuts and a sprinkle of
goat cheese. After the pizza is cooked, add
fresh arugula to the top and let sit for five minutes. Drizzle with
honey and then cut and serve.
PRINT THIS RECIPE!
**A note about this dough: it needs to sit in the fridge for a full 24 hours before using, so you'll need to think ahead and make this the day before. Its worth the wait.**
"Brick Fire" Oven Pizza Dough
Makes 2 12-inch pizza crusts
3 cups bread or all-purpose flour
2 teaspoons sugar
1/2 teaspon rapid rise yeast
1 1/3 cups ice water (ice water must be used to prevent overheating in the food processor)
1 tablespoon olive oil
2 teaspoons kosher salt
In a food processor fitted with the chopping blade, add flour, sugar and yeast and process to combine; about 3 pulses. With the processor on, slowly add water through the feed tube and process until just combined and there is no dry flour remaining. Let dough sit in processor for 10 minutes.
After dough has sat 10 minutes, add oil and salt. Process until the dough forms a ball that is satiny, sticky, and clears the sides of the processor bowl. Remove the dough from the work bowl and knead on an oiled counter for one minute. Form dough into a small ball and place in an oiled bowl. Cover bowl with plastic wrap and place in the refrigerator for 24 hours and up to three days.
One hour before baking, remove the dough from the fridge and cut in half. Form each half into a ball and place on a floured counter. Cover with plastic wrap covered in cooking spray or a damp towel.
One hour before baking, place oven rack at second highest position, about 5" from the top heating element. Put pizza stone (you can also use a regular baking sheet, but a pizza stone will give you better results) on the rack and preheat oven to 500F.
After one hour, take one dough ball and lay on a floured surface. Begin rolling out using a rolling pin to shape the pizza and then continue by stretching the pizza with your fingers until it is approximately 12". Transfer to a well floured pizza peel or overturned baking sheet lined with parchment paper. Re-shape and stretch dough approximately one more inch.
Add your sauce and then your toppings to the dough just before baking.
Now, the tricky part...transferring the pizza to the stone. I have found that removing the stone from the oven and then sliding the pizza on works best. If you are using a heavily floured pizza peel, just slide the pizza from peel to stone. If you are using an overturned baking sheet lined with parchment paper, slide the paper and pizza directly onto the stone. Baking the pizza with the parchment paper will not alter the baking process.
Bake for 10-12 minutes, or until crust is lightly browned. Remove from the oven and allow to sit for 5 minutes before cutting and then...
EAT IT!!