So, here it is ladies and gentlemen. The recipe you've all been waiting for...the recipe I have been
aluding to for days, maybe weeks, now. The greatest recipe of all time. May I present to you...
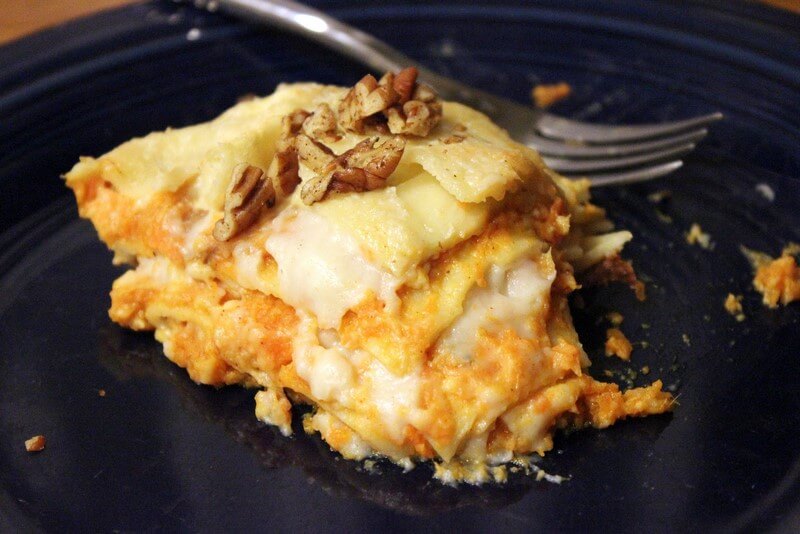
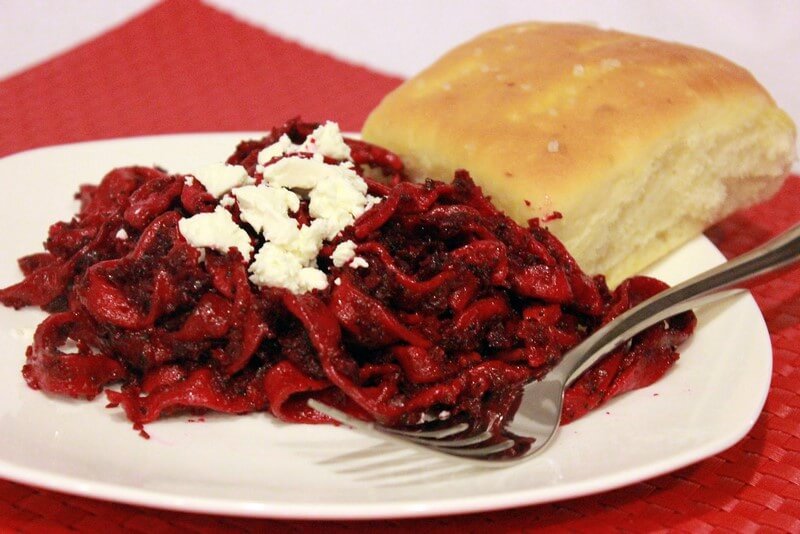
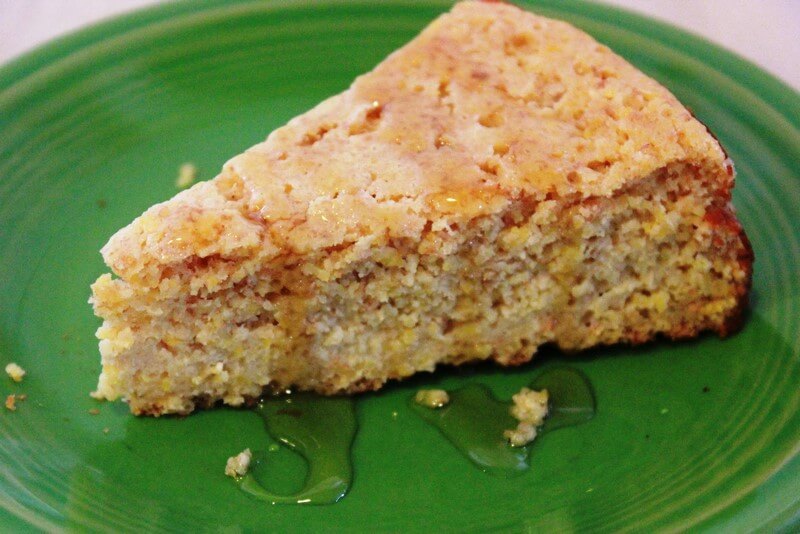
Tuscan Spinach & Mushroom Roll.
.JPG) |
| TA DA! |
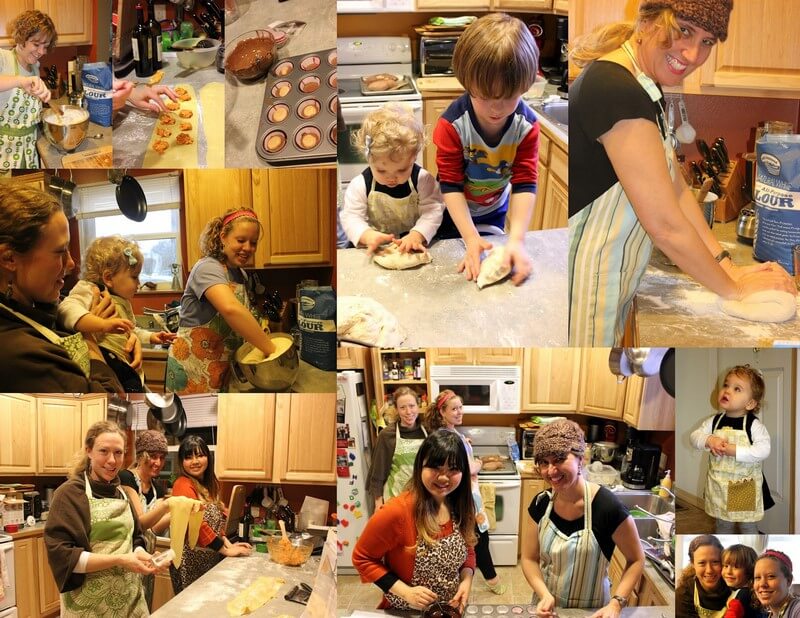
I originally found this recipe in a cookbook I picked up when we were in Florence, Italy a couple of years ago. Its titled simply Tuscan Cookbook and is a collection of recipes from two Australian women, Maggie Beers and Stephanie Alexander. These women spent a summer in Tuscany hosting week-long cooking schools. Oh, I am green with envy when I read this cookbook. There are pictures of these fine women and their students cooking, drinking wine, eating, perusing local markets, filling their tummies and souls with Tuscan food and culture. I promise you this, someday one of those students will be me. This is a dream of mine, and one I believe to be attainable.
.JPG)
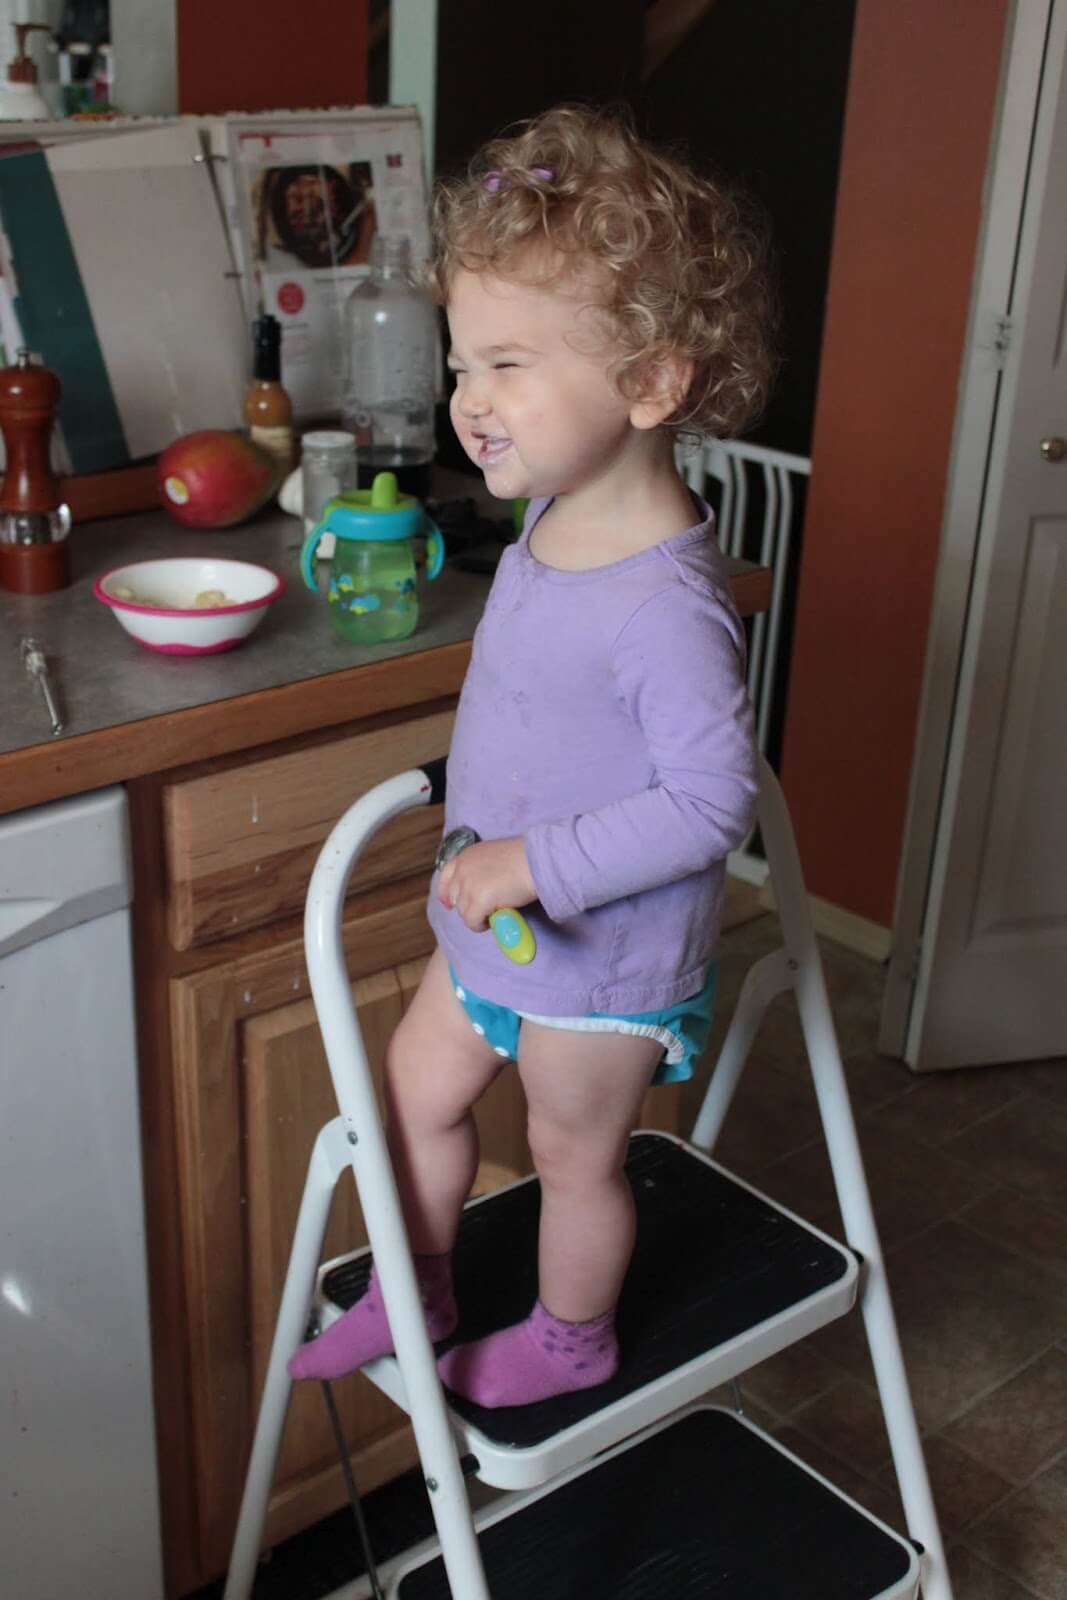
This is a special occasion meal, no doubt. This meal takes time and forethought and love. I adore this meal and I am certain it turns out so well because of the love I pour into it while I am cooking. I firmly believe that love is a huge, if not the biggest, ingredient in cooking or baking. I have never made a terrific meal when I am in a bad mood. I have made this four times and I have had the opportunity to share the process with two of the moms in my life on separate occassions. This was such a joy for me.
.JPG) |
| Easter with my Mama |
.JPG) |
| Christmas with my Mom-in-Law |
I don't usually post step by step photos with the instruction in my recipes, but I am going to post a few this time because some of the steps are complex. But, please believe me, this meal is worth every second you put into it. This meal is a journey and one that you will fall in love with at the end.
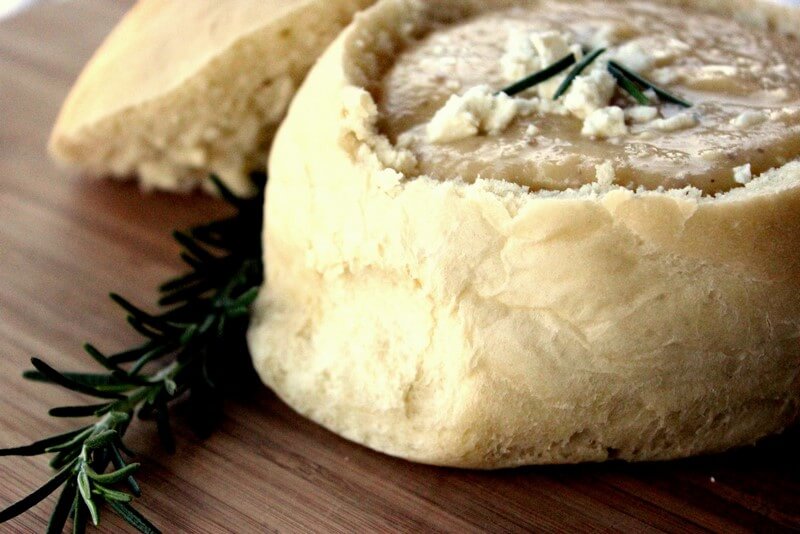
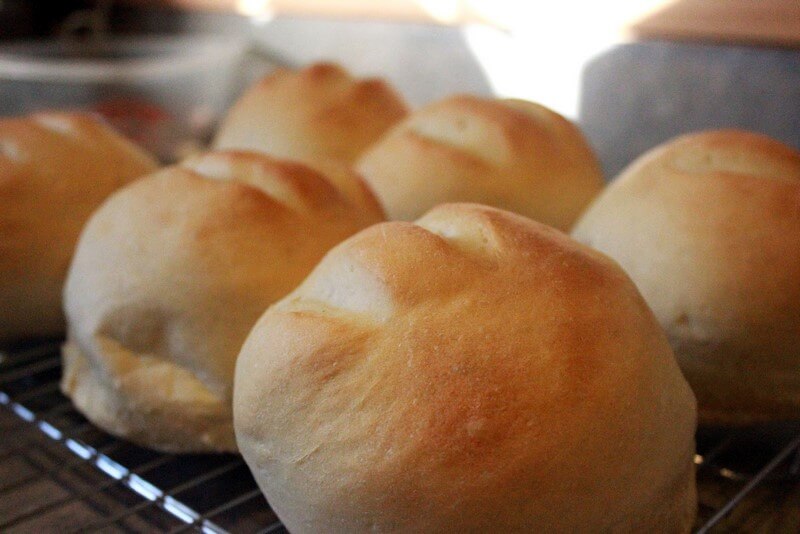
I always serve this with this
Focaccia Bread recipe, because it pairs well together. You should too.
Merry Christmas, Happy Holidays and Happy New Year to you all!
Tuscan Spinach and Mushroom Roll
Serves 8
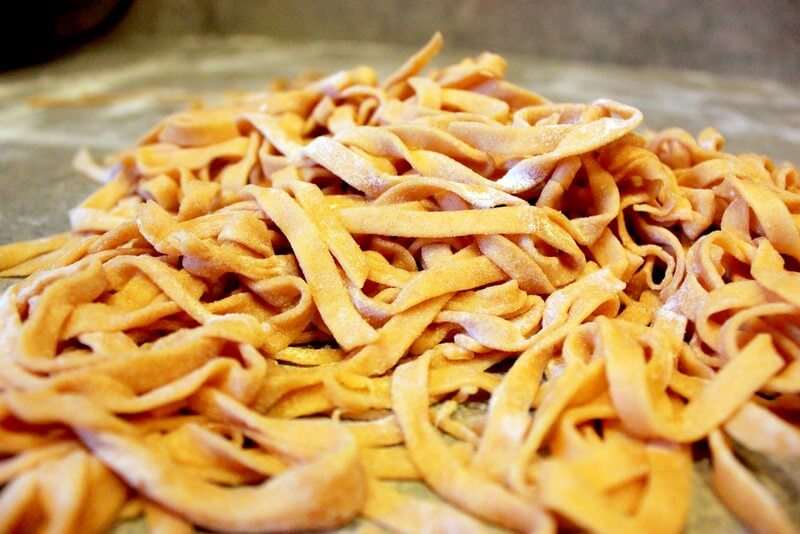
Pasta
6 whole eggs
4 cups (560 grams) all purpose flour
2 Tbsp olive oil
Filling
1 1/2 cups (12 oz) cooking sherry
1 oz dried porcini mushrooms
3 Tbsp unsalted butter
1 Red onion, finely chopped
1 Tbsp Oregano, chopped
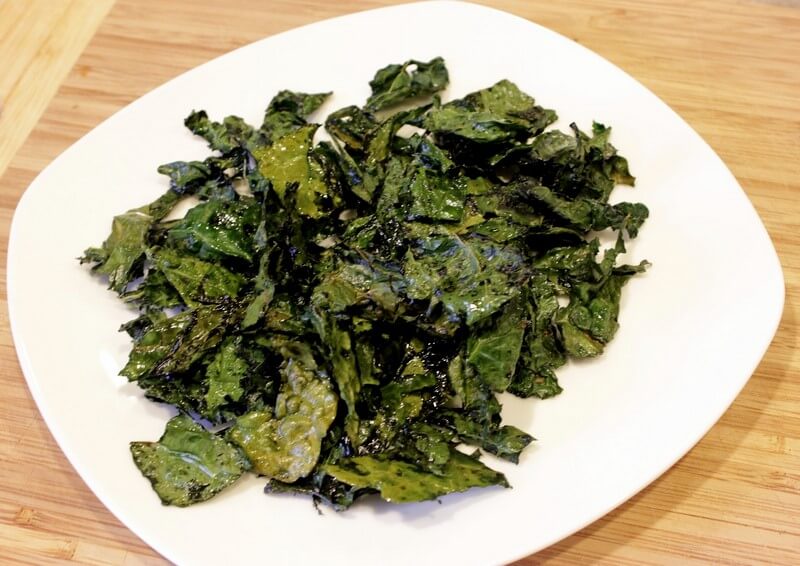
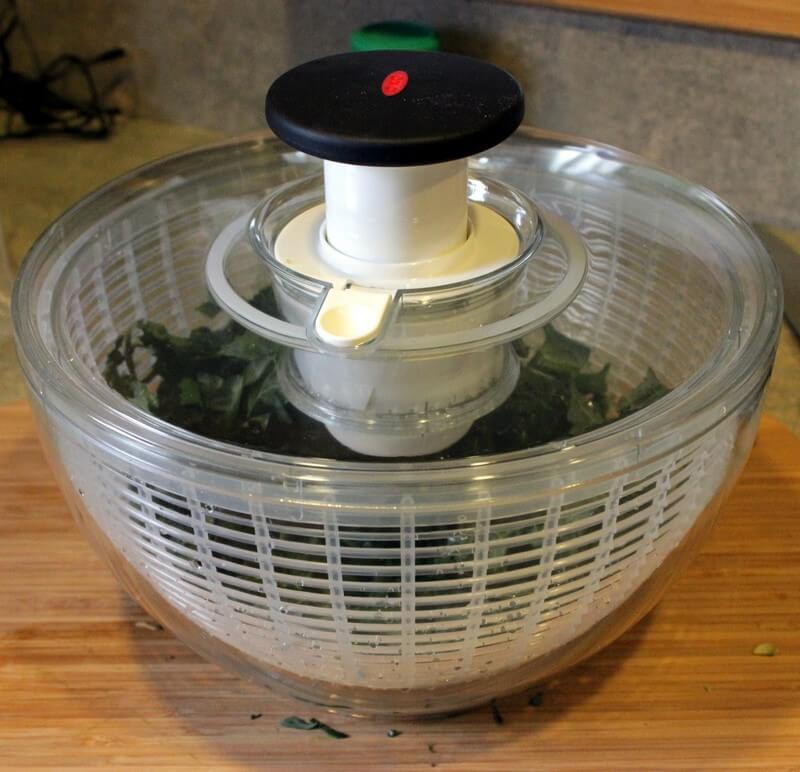
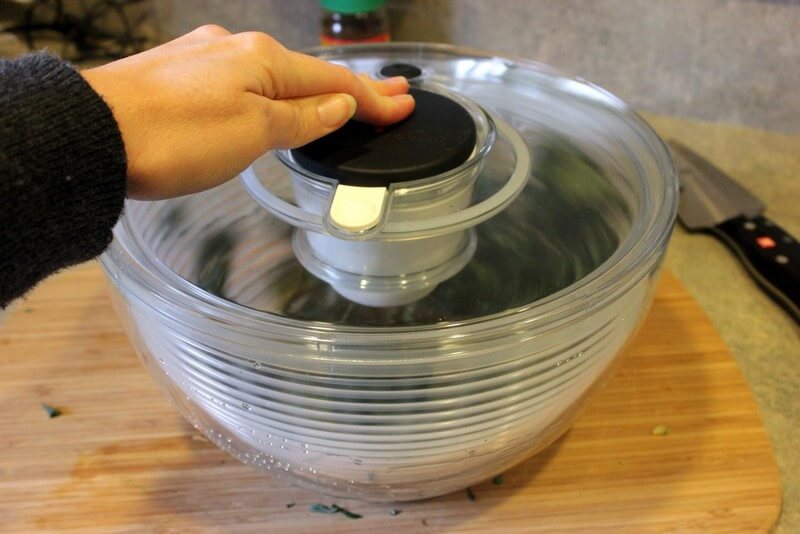
30 oz blanched (or thawed, frozen) spinach, water wrung out (see tip
here)
zest of one lemon
1 Tbsp olive oil
4 cloves of garlic, minced
12 oz fresh shiitakes, or other field mushrooms, roughly chopped
2 cups homemade ricotta (recipe
here), or 1-15.5 oz container store bought
1/3 cup Parmesan, freshly grated
1 tsp nutmeg, freshly grated
Salt and Pepper to taste
1/2 cup unsalted butter
16 sage leaves
Special Equipment
Pasta roller
2 CLEAN, large sized tea towels
Kitchen string
To make the pasta: Make in two separate batches. Combine 3 eggs, 2 cups flour and 1 tablespoon olive oil in a food processor and pulse until the dough comes together. If the dough still seems dry and will not stick together when pinched, add a teaspoon of water at a time until it comes together. Knead briefly and shape into a disk. Wrap in plastic wrap and refrigerate. Repeat with remaining ingredients. Pasta can be made up to 8 hours ahead.
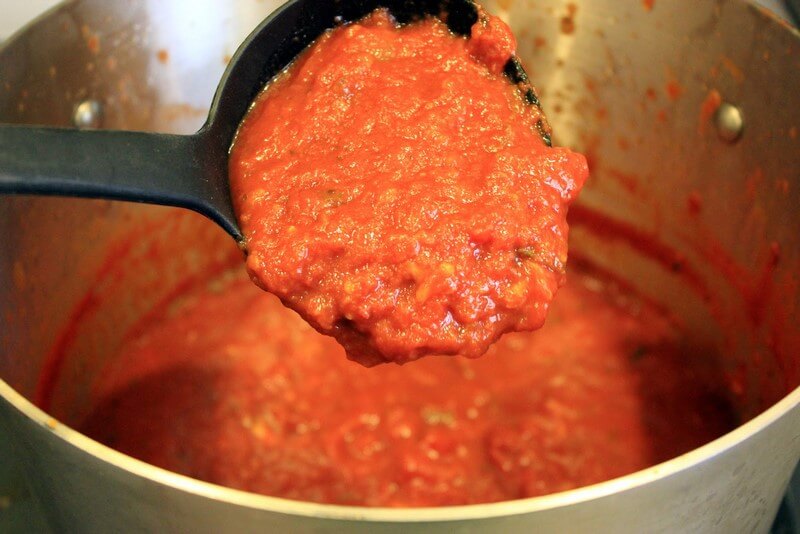
To make the mushroom filling: Warm 1/4 cup of sherry in a medium skillet over medium heat. Add the dried porcini mushrooms to the pan. Add the remaining sherry a few tablespoons at a time until the mushrooms have been reconstituted to an edible softness. This will take about 20-25 minutes. Drain the mushrooms, being sure to reserve the sherry remaining in the pan. Gently rinse the porcinis to remove any grit.
Heat olive oil in the same pan, then add garlic and saute on medium heat for a couple minutes. Add the shiitakes and cook over medium-high heat for 5 minutes. Lower the heat to medium and add the reconstituted porcinis. Cook for 20 minutes, adding the reserved sherry a little at a time until it all has been incorporated. If there is sherry left in the pan, turn the heat up and cook until all liquid is evaporated. Season with salt and pepper and set aside to cool. Once cool, roughly chop. Mushroom filling can be made one day ahead of time.
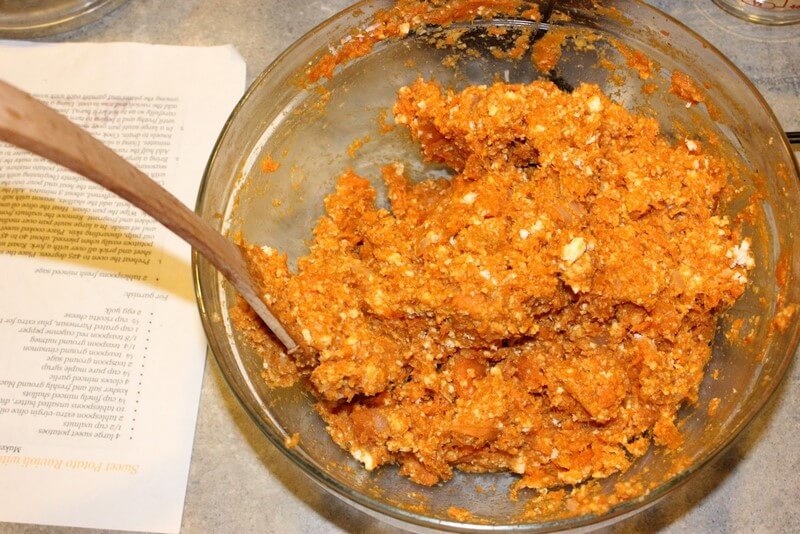
To make the spinach filling: Heat 3 tbsp butter over medium heat and cook the onion until softened. Add the oregano, spinach and lemon zest. Season with salt and pepper and set aside to cool. Once cooled, add the ricotta, parmesan and nutmeg and stir to combine. Spinach filling can be made one day ahead of time.
Assemble the pasta roll: Lay one tea towel out on a large clean work surface. Remove pasta dough from fridge and divide into four pieces, keeping dough covered with plastic when not being used. Run one piece of dough through the pasta machine on the second thinnest setting (this is a 6 on my Kitchenaid pasta roller) and lay on the tea towel. With your finger or a pastry brush, wet about 1/2" along the long edge of the dough facing you. Repeat with another piece of dough and lay this piece next to the first, overlapping the long edges where the water was brushed. Gently seal the two pieces of pasta together. Cut the short edges to square them off (like the right side below).
Spoon half of the mushroom mixture onto the middle of the pasta sheet closest to you. Spread half of the spinach mixture over the top pasta sheet.
Fold a small edge from the short sides of the pasta over. Starting from the mushroom edge, carefully and tightly roll the pasta and then seal the edge with water.
Wrap the tea towel tightly around the pasta then take kitchen string and tie it around the tea towel as shown below:
Repeat this process with the remaining dough and fillings.
Bring a very large stockpot of water to a boil. Add one roll to the pot and boil for 20 minutes.
Meanwhile, melt the 1/2 cup of unsalted butter over medium heat until it is golden brown and has a nutty aroma, about 8-10 minutes. Keep on eye an the butter though because it will turn from golden brown to black in an instant. Pour the brown butter into a spouted measuring cup. Add the sage leaves to the hot pan and cook until crisped, about 1 minute. Transfer to a paper towel and set aside.
After 20 minutes, remove the roll from the boiling water using two sets of kitchen tongs and place on a large cutting board. Be very careful not to burn yourself because the roll is heavy and awkward and really hot! Add the second roll to the boiling water for 20 minutes.
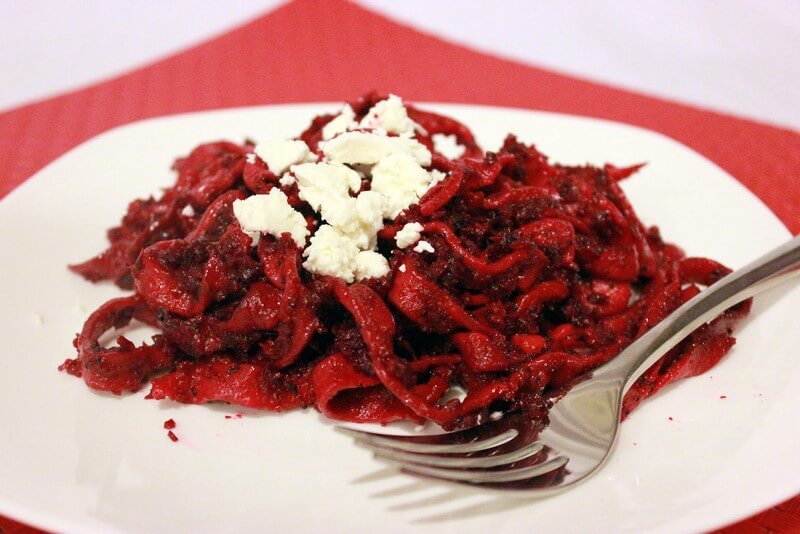
Allow the roll to cool for about 5 minutes and then carefully cut the string and unroll the towel. Transfer the pasta roll to a cutting board and cut into 2 inch slices. Place 3 or 4 slices on a plate and drizzle with brown butter and garnish with sage. And then finally...finally...because you totally earned this...you can...
Eat it!!!


.JPG)
.JPG)
.JPG)
.JPG)
.JPG)
.JPG)
.JPG)
.JPG)
.JPG)
.JPG)
.JPG)
.JPG)
.JPG)
.JPG)
.JPG)
.JPG)